Free background from VintageMadeForYou

Friday, April 4, 2014

Jelly Bean Time!

Hi All!  Hope you are seeing some sunshine wherever you are located.  We are expecting temps in the low 70's this upcoming week.  My lawn is so wet (how wet is it heehee) I have to wear my wellies to even mow it.  So this dry and warm weather will really help.

This week I have created a card for a young man that loves to receive mail.  He doesn't know it will be heading his way.  I hope to surprise him.  Also it's the first time I have used felt on a card.  So let's take a look.

I used the Easter Bunny Kids  file from ScrappyDew's website.  Here is the link to the file.  http://shop.scrappydew.com/shop/item/53318

This is just such a fun file and your imagination can come up with the perfect caption.  I decided that "Do I Smell Jelly Beans?" would suit.  Let me show you the card.


I hadn't experimented with cutting felt with my KNK Zing.  So I found my fabric blade and the KNK blade holder.  (i use roland blades and a click blade holder that i bought a long time ago)  I had saved the settings for the blade holder and got everything set up with the correct speed and force for felt.  Sticky mat ready and let's cut.  It was NOT a clean cut.  I had spent a half an hour, and said the heck with it and cut it out by hand.  I will try again, but I had a card to get done.  

The basket needed some embellishment so I used the lattice feature on the Make The Cut (MTC) program and then sized a oval in basic shapes to fit the handle.  I like the look of the basket. So this cute card is heading out to surprise a young man.  

Last week I had promised you a big announcement.  Well like all great things, more time is needed to have all the pieces in place.  So next Friday/Saturday I will have something very special to announce.  You will just have to check back.

Have a wonderful weekend, Bright blessings, Jana 

Saturday, March 29, 2014

One Cute Chick!

Good morning my crafty friends.  Today I have a door decoration to share with you.  Many of you know that my daughter and her other half bought their 1st home back in November.  They are having so much fun decorating and now watching their yard to see what pops up.  I have to give them credit.  They are not pulling up everything.  So many young people, especially first time home owners, pull everything up in the landscape.  What they are doing is this.  Making a map of the sunlight in the yard and seeing just what comes up during each growing season.  Mom didn't suggest this.  So I am pretty pleased as punch they thought this up on their own.

One item that they don't have is decorations for each holiday.  With Easter coming up I thought I would make a door decoration.  It had to have plenty of sparkle.  I saw ScrappyDew's file called One Cute Chick and knew that was the one for their door.
 Here is the link http://shop.scrappydew.com/shop/item/99620


On this project I used DCWV Glitter stack.  This stuff cuts like butter.  The other glitter pieces are from American Crafts.  Since it's going on their front door, I needed to use the pop bottle trick again (i just love using this medium).  The door is protected by a storm door so I didn't have to worry about moisture.  Also, I remembered to sign and date the back.  Maybe years to come, they will put this up and remember mom making it.  So without further ado.....ONE CUTE CHICK!!!

I took all the stuff off my bulletin board and here it is!


This is so stinking cute.  My daughter sent me a photo of it on their front door.  I really like how this turned out.  

So for next week, there is a big announcement coming.  I will be posting during the week to tell you more about this fantastic happening!!!!  So stay tuned, and check back often.

That's it for this week.  Bright blessings and many hugs, Jana

Friday, March 21, 2014

A 1st Birthday Card

Hello my crafty friends!  The sun is shining and the air has a bit of a chill, but I will take it!  I also smell a bit of Daphne in the air.  Ahhhh Spring!!!  

Today I have a very special 1st birthday card to share.  I have had the privilege of seeing this little guy grow so big in just a year.  He is just about to walk and get into everything.  I wanted to make a very special card that his mom could put in his baby book.  Over on ScrappyDews FB page, Ken of Kens Kreations graciously shared a card in a box pattern.  (Michelle has also converted this pattern to MTC.  You can LIKE the page and grab it here  https://www.facebook.com/ScrappyDewCreations, you have to scroll and look at all the amazing projects though....) I knew I just had to try my hand at this type of a card. 

I am going to give you the lyrics first (because I used a bunch of ScrappyDew files)  So here we go:

http://shop.scrappydew.com/shop/item/88415 Birthday Boy Cake Smash 2013

http://shop.scrappydew.com/shop/item/86985  Bear Clowns 2013

http://www.dash12.com/scrapfactory/ I made the hair for the baby boy with this program

I used Recollections paper through out this project.

So let's get this party started!!!

****ONE IMPORTANT NOTE, I DID NOT USE ANY GLITTER ON THIS PROJECT.  LITTLE ONE MIGHT GET A HOLD OF IT AND GLITTER ISN'T GOOD FOR KIDS OR PETS****

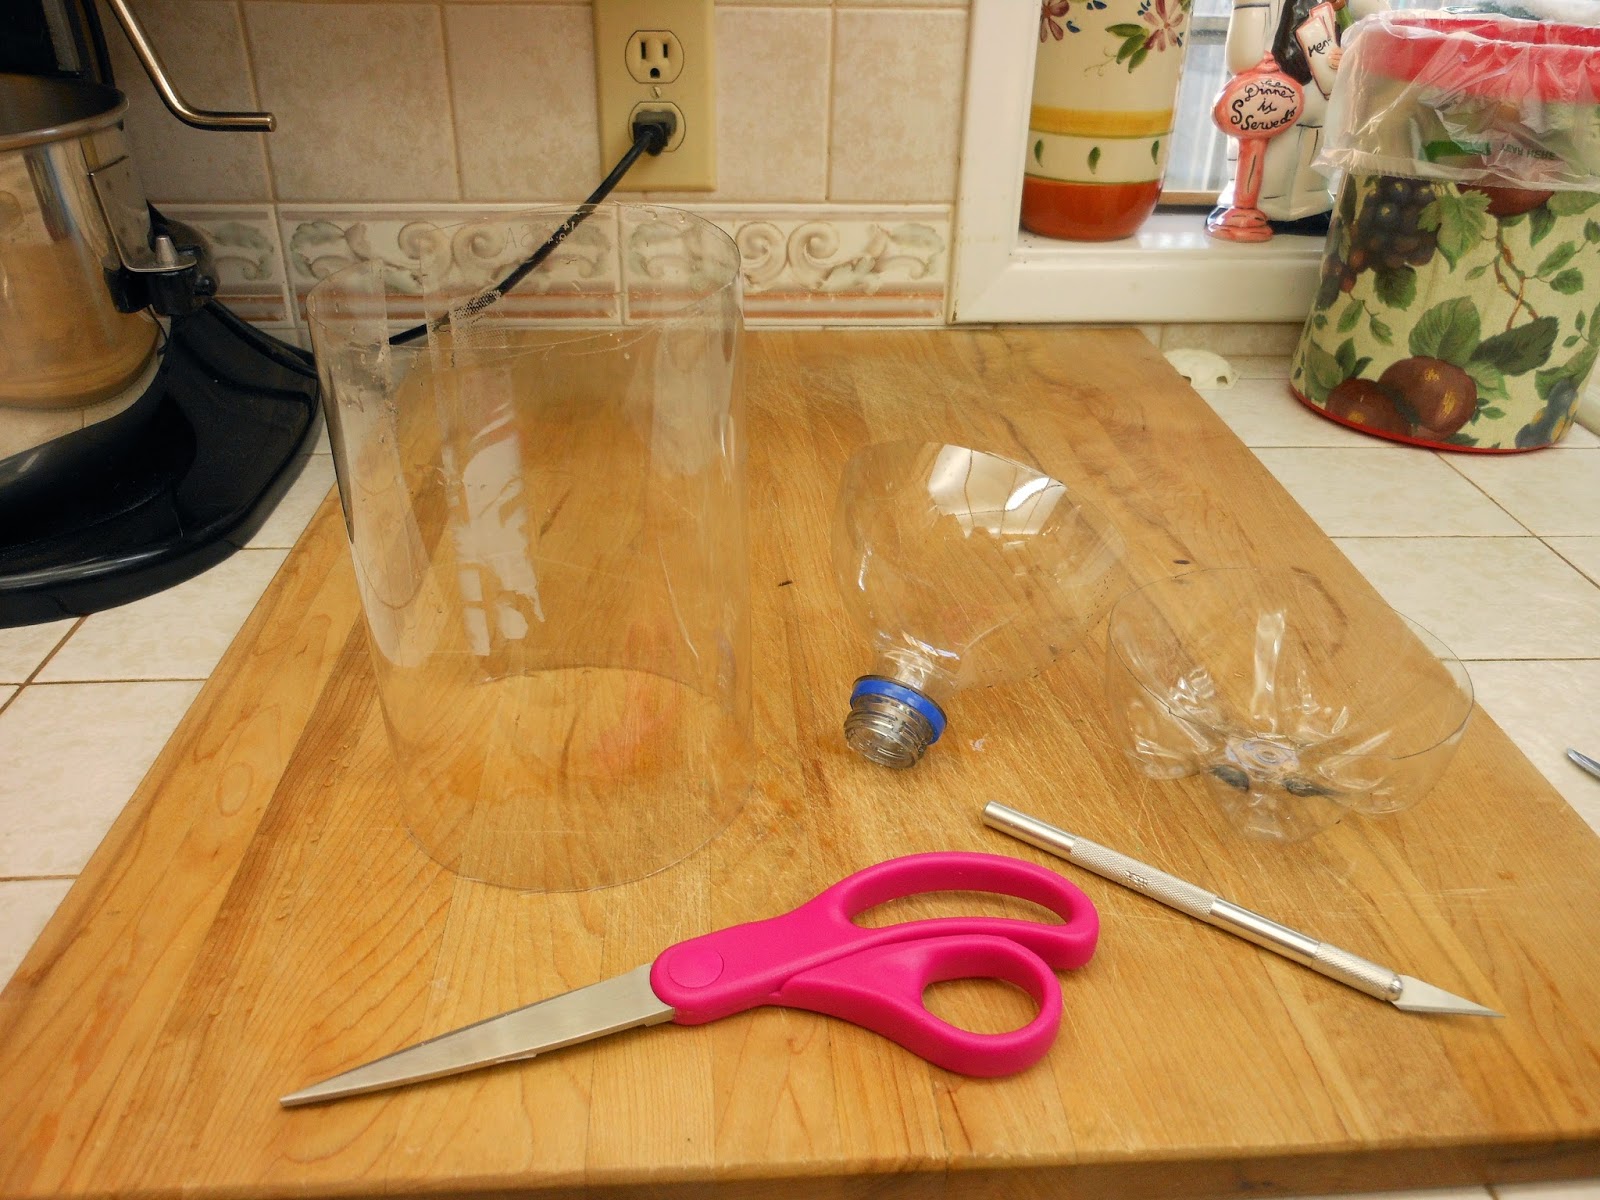
I cut the card out of a shiny blue 12 x 12 sheet.  Gotta have blue for a boy's card.  Just to let you know I didn't put the card together UNTIL I had all the elements made and I dry fitted everything together.  I had scaled all the elements to fit on each side of the box and then cut and glued them together.  I wanted balloons staggered in back of the little boy.  I also wanted them to move a bit.  Ah, a clear acetate sheet would work.  So I took myself to Staples.  Staples wanted over $60 for 50 sheets of acetate.  Needless to say I did NOT buy this.  But what to use.  Here is my solution.

I am using a clear 2 liter pop bottle

Cut both ends off, and cut down the length of the bottle.

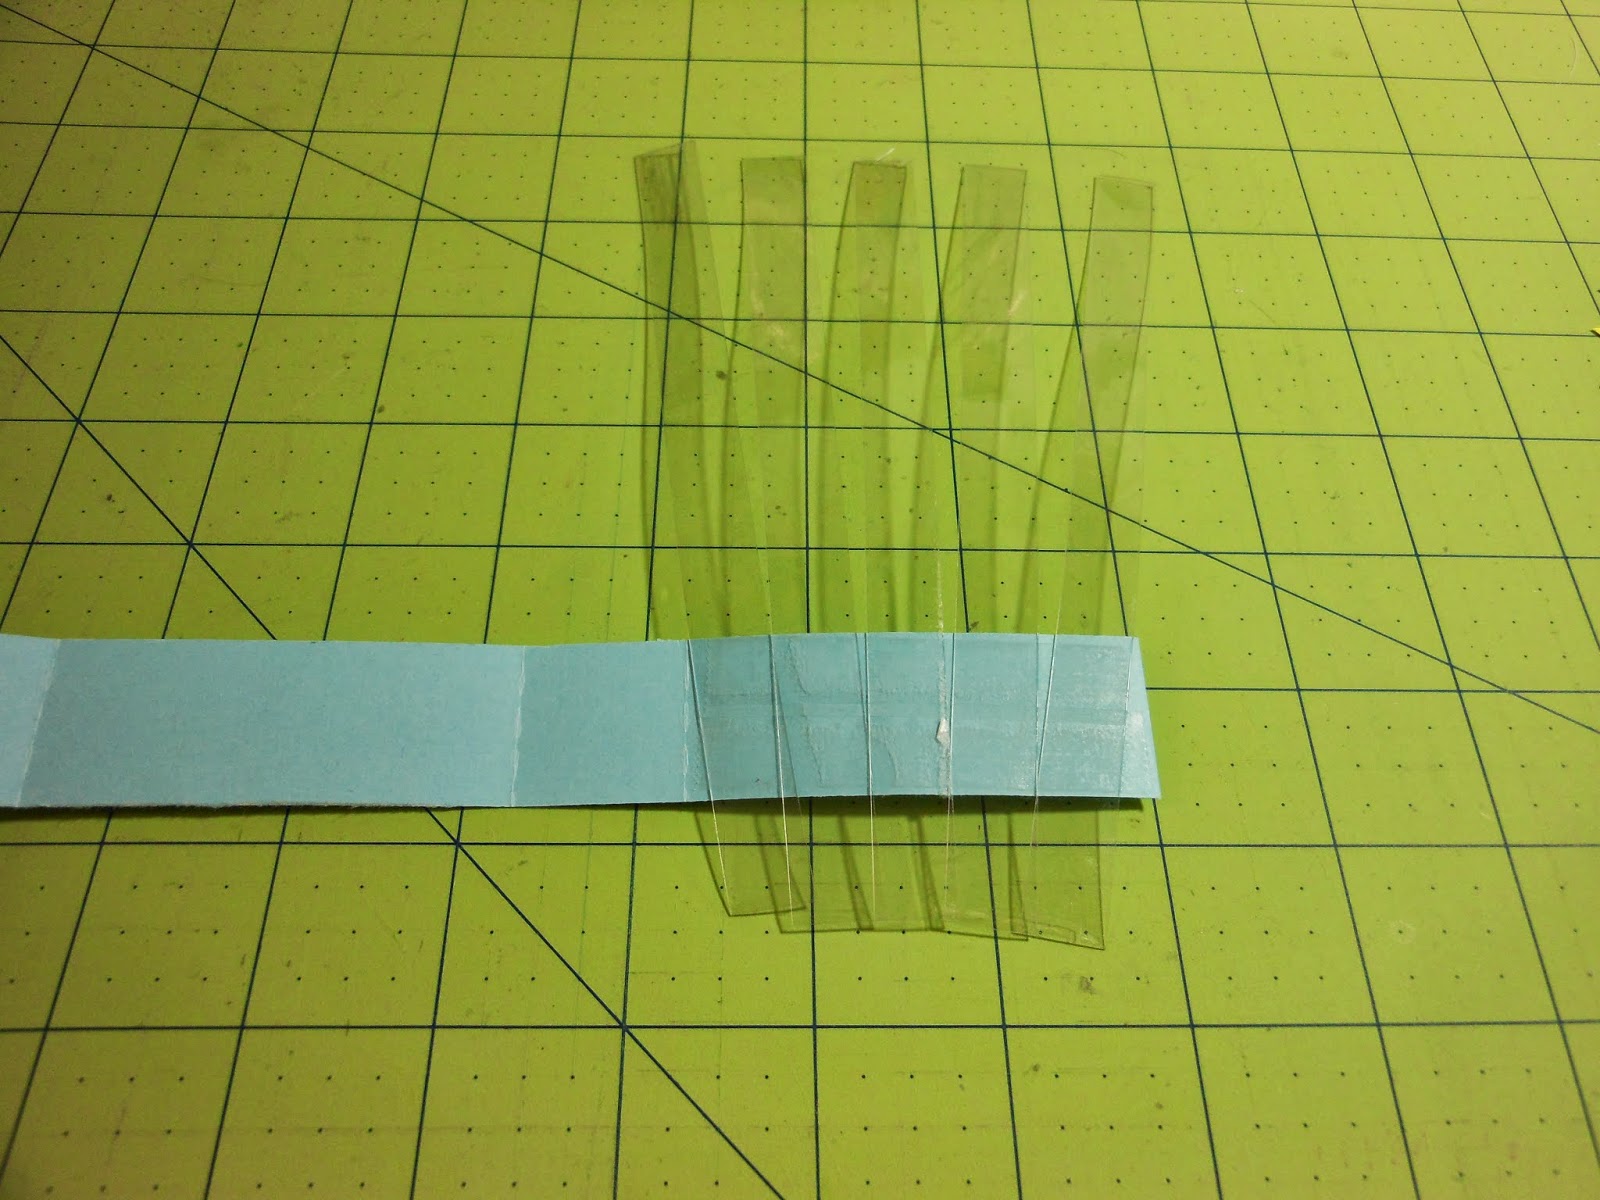
Rolled and flattened the plastic sheet and cut 1/2 inch strips

Using doubled sided tape, I attached these to the inside frame 


I attached my pretty paper.  You can see the plastic strips and
they do wave back and forth.  Just what I wanted and cost me
a plastic bottle deposit.


So here is the completed card.  I sure hope that the parents like it!

Card laying flat

The inside

The finished birthday card

I hope that you get some inspiration to try this yourself.   It is a fun project and I hope to make more.

For next weeks design team project, I am making an Easter Door Decoration for my girls.  I promise you lots of sparkle and glitter!

Bright Blessings for the coming week, Jana